A stopcock is a valve that controls the flow of water into your property from the main supply. It is usually located near the boundary of your property or under the kitchen sink. If you notice water dripping or pooling around your stopcock, it's important to address the issue promptly to prevent further damage and potential water wastage.
What is a stopcock?
A stopcock is a valve that controls the flow of water entering your property from the main supply. It's typically located near the property line or under your kitchen sink. It's crucial to address a leaking stopcock promptly to prevent water damage and waste.
Signs of a leaking stopcock:
A leaking stopcock can be a nuisance and lead to water damage if left unaddressed. Here are some key signs to watch out for:
Visible water: This is the most obvious sign. Look for dripping water around the base of the stopcock, under the sink, or on nearby walls or floors. Even a small amount of dripping can indicate a leak.
Water stains: If you notice water stains around the stopcock, it's a strong indication of a past or ongoing leak. These stains may appear brown, yellow, or rusty depending on the minerals present in your water.
Mold or mildew growth: Leaking water can create a damp environment, perfect for mould and mildew growth. Check for these around the stopcock, behind the sink, or on nearby walls.
Reduced water pressure: If you experience a noticeable decrease in water pressure throughout your home, it could be due to a leak in the stopcock or somewhere in the main water line.
Sound of running water: Even when the taps are off, you might hear a faint hissing or dripping sound near the stopcock if there's a leak.
Here are some steps to help you fix a leaking stopcock
Step 1: Turn off the water supply
Before attempting any repairs, it's crucial to turn off the water supply to your property. This will prevent any further water from flowing through the pipes and allow you to work safely. Locate the main stopcock and turn it off by turning it clockwise.
Step 2: Drain the pipes
After turning off the water supply, it's essential to drain any remaining water from the pipes to prevent any further leaks. Open all the taps in your home and allow the water to drain out completely.
Step 3: Inspect the stopcock
Once the water has drained out, inspect the stopcock for any signs of damage or wear and tear. Check for any cracks or visible signs of corrosion. If the stopcock is damaged, it may need to be replaced entirely.
Step 4: Tighten any loose fittings
If the stopcock is not damaged, the issue may be caused by loose fittings. Check all the connections and fittings leading to the stopcock and tighten them if necessary. Use a wrench or pliers to tighten the fittings, but be careful not to over-tighten them as this can cause further damage.
Step 5: Replace any damaged washers or seals
If the issue persists, it may be due to a damaged washer or seal within the stopcock. To replace these, first, turn off the water supply to the property and drain the pipes as described above. Then, use a wrench to remove the stopcock cover and inspect the washers and seals for any signs of damage. If any are worn or damaged, remove them and replace them with new ones.
Step 6: Reassemble and test
After replacing any damaged parts or tightening any loose fittings, reassemble the stopcock and turn on the water supply to the property. Check for any leaks or drips around the stopcock and surrounding pipes. If the issue persists, it may be best to call in a professional plumber to assess the situation further.
Ever woken to a gushing leak or battled a clogged drain? Plumbing and drainage nightmares can disrupt your life and wallet. Plumbing and drainage cover acts as your safety net. It offers protection against leaks, bursts, blockages, and even external drain issues. With this cover, you'll have access to qualified plumbers 24/7 who can diagnose and fix the problem quickly, minimizing damage and saving you the stress of unexpected costs.
Preventing future stopcock leaks
To prevent future stopcock leaks, it's important to carry out regular maintenance on your plumbing system. This includes checking for any leaks, replacing worn parts, and ensuring that all fittings are tight and secure. It's also a good idea to install a water meter to monitor your water usage and detect any unusual spikes that may indicate a leak.
Additionally, during the colder months, it's important to insulate your pipes to prevent them from freezing and potentially causing damage. It's also advisable to run your taps and flush your toilets regularly to prevent any buildup of stagnant water that could lead to leaks or blockages.
Certainly, here are some additional tips for fixing a leaking stopcock:
Tighten the packing nut
If the leaking is coming from the area where the handle meets the body of the valve, you may need to tighten the packing nut. This is the nut that holds the valve stem in place. Use a wrench to gently tighten the nut, being careful not to over-tighten it. This can sometimes stop the leak.
Replace the washer
If the leak persists even after you have tightened the packing nut, the problem may be a worn-out washer. Shut off the water supply and remove the packing nut to access the washer. Replace it with a new one and reassemble the valve.
Replace the valve
If the stopcock is old or damaged, it may be best to replace it altogether. This may require shutting off the water supply to your home and cutting the pipe to remove the old valve. A new valve can then be soldered onto the pipe and the water supply restored.
Tools required:
Before tackling a leaky stopcock, ensure you have the necessary tools on hand to complete the job efficiently and safely. Here's what you'll likely need:
Adjustable wrench: This versatile tool is crucial for tightening loose nuts and fittings around the stopcock.
Water pump pliers: These specialized pliers offer increased grip and leverage, making them ideal for gripping and turning the stopcock handle or tight fittings.
Flat-head screwdriver: This may come in handy for removing screws or prying off any covers around the stopcock.
Replacement washers: These small rubber or fibre washers create a seal within the stopcock and may need replacing if worn or damaged. Ensure you have the correct size for your specific stopcock model.
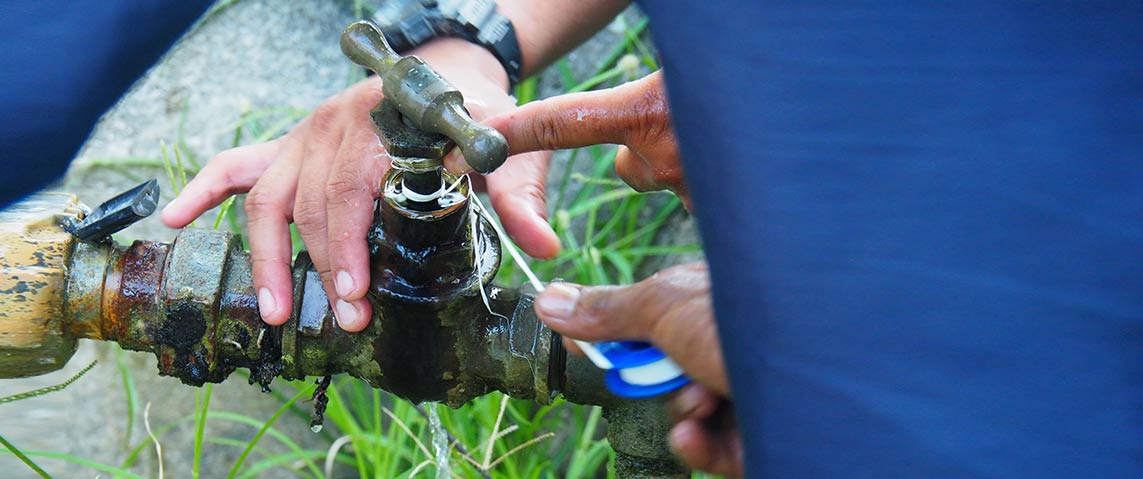
PTFE tape (optional): Also known as Teflon tape, this can be used on threaded connections to create a tighter seal and prevent leaks.
Bucket: This will be helpful for catching any water that drains while you work.
Call a Professional
If you are not comfortable performing any of these steps or if the leaking is severe, it is best to call a professional plumber. They can quickly diagnose the problem and provide the best solution for fixing the leaking stopcock.
Get plumbing and drainage cover
Prevent future leaks
Once you have fixed the leaking stopcock, take steps to prevent future leaks. This includes regular maintenance of your plumbing system, such as checking for leaks and replacing worn-out parts. You should also avoid using excessive force when turning the stopcock on and off, as this can cause damage over time.
Conclusion
fixing a leaking stopcock can be a simple process that can save you time, and money, and prevent further damage to your plumbing system. By following these steps, you can identify the cause of the leak and take the necessary steps to repair it. If you're not comfortable performing the repairs yourself, it's always best to call in a professional plumber to ensure that the job is done safely and correctly. Regular maintenance of your plumbing system is key to preventing future leaks and keeping your home's water supply running smoothly.
Discover expert insights and practical tips in our comprehensive guide on 'how to fix a dripping tap.' Don't let that persistent drip drive you mad; empower yourself with the knowledge to address the issue effectively.


